3D printing lithophanes

lithopane

So it has been a while since I’ve posted. I started a new job and only the second week-in I came down with the flu, so I’ve been busy and sick.

I’ve done a lot even with all that going on, but just haven’t had the time to post about it. For Valentine’s I made a custom heart shaped earring holder, I created a Rube Goldberg valentine’s box for my youngest son (his design). I created a new rpi camera mount for my Prusa i3 MK2, I’ve made progress on an enclosure for my Prusa, and lastly create my first lithophane.

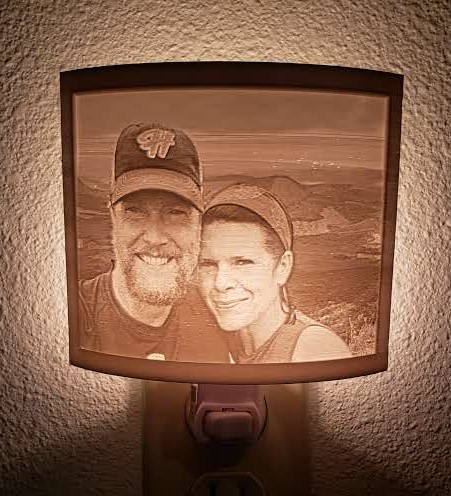
I’ve seen numerous posts in the past 6 months or more of people creating lithophanes of family photos, spherical moons, etc… So I thought I’d create one today. I took an old photo and a couple of hours later I had a pretty cool lithophane. However, I knew there was a inverse option in the software I used, so I thought I’d try that next. The results are AMAZING! It is like having a physical photo!

https://photos.app.goo.gl/ITevzQHwQFeobXt13 

I recommend using this site for creating your lithophane: http://3dp.rocks/lithophane/ It makes it super easy! I would make sure to click on Settings –> Image Settings  and then move the slider to the left for Positive Image. This will make it so the photo will show up when light source is behind the lithophane.

Update: I also like this site for creating lithophanes! https://lithophanemaker.com/
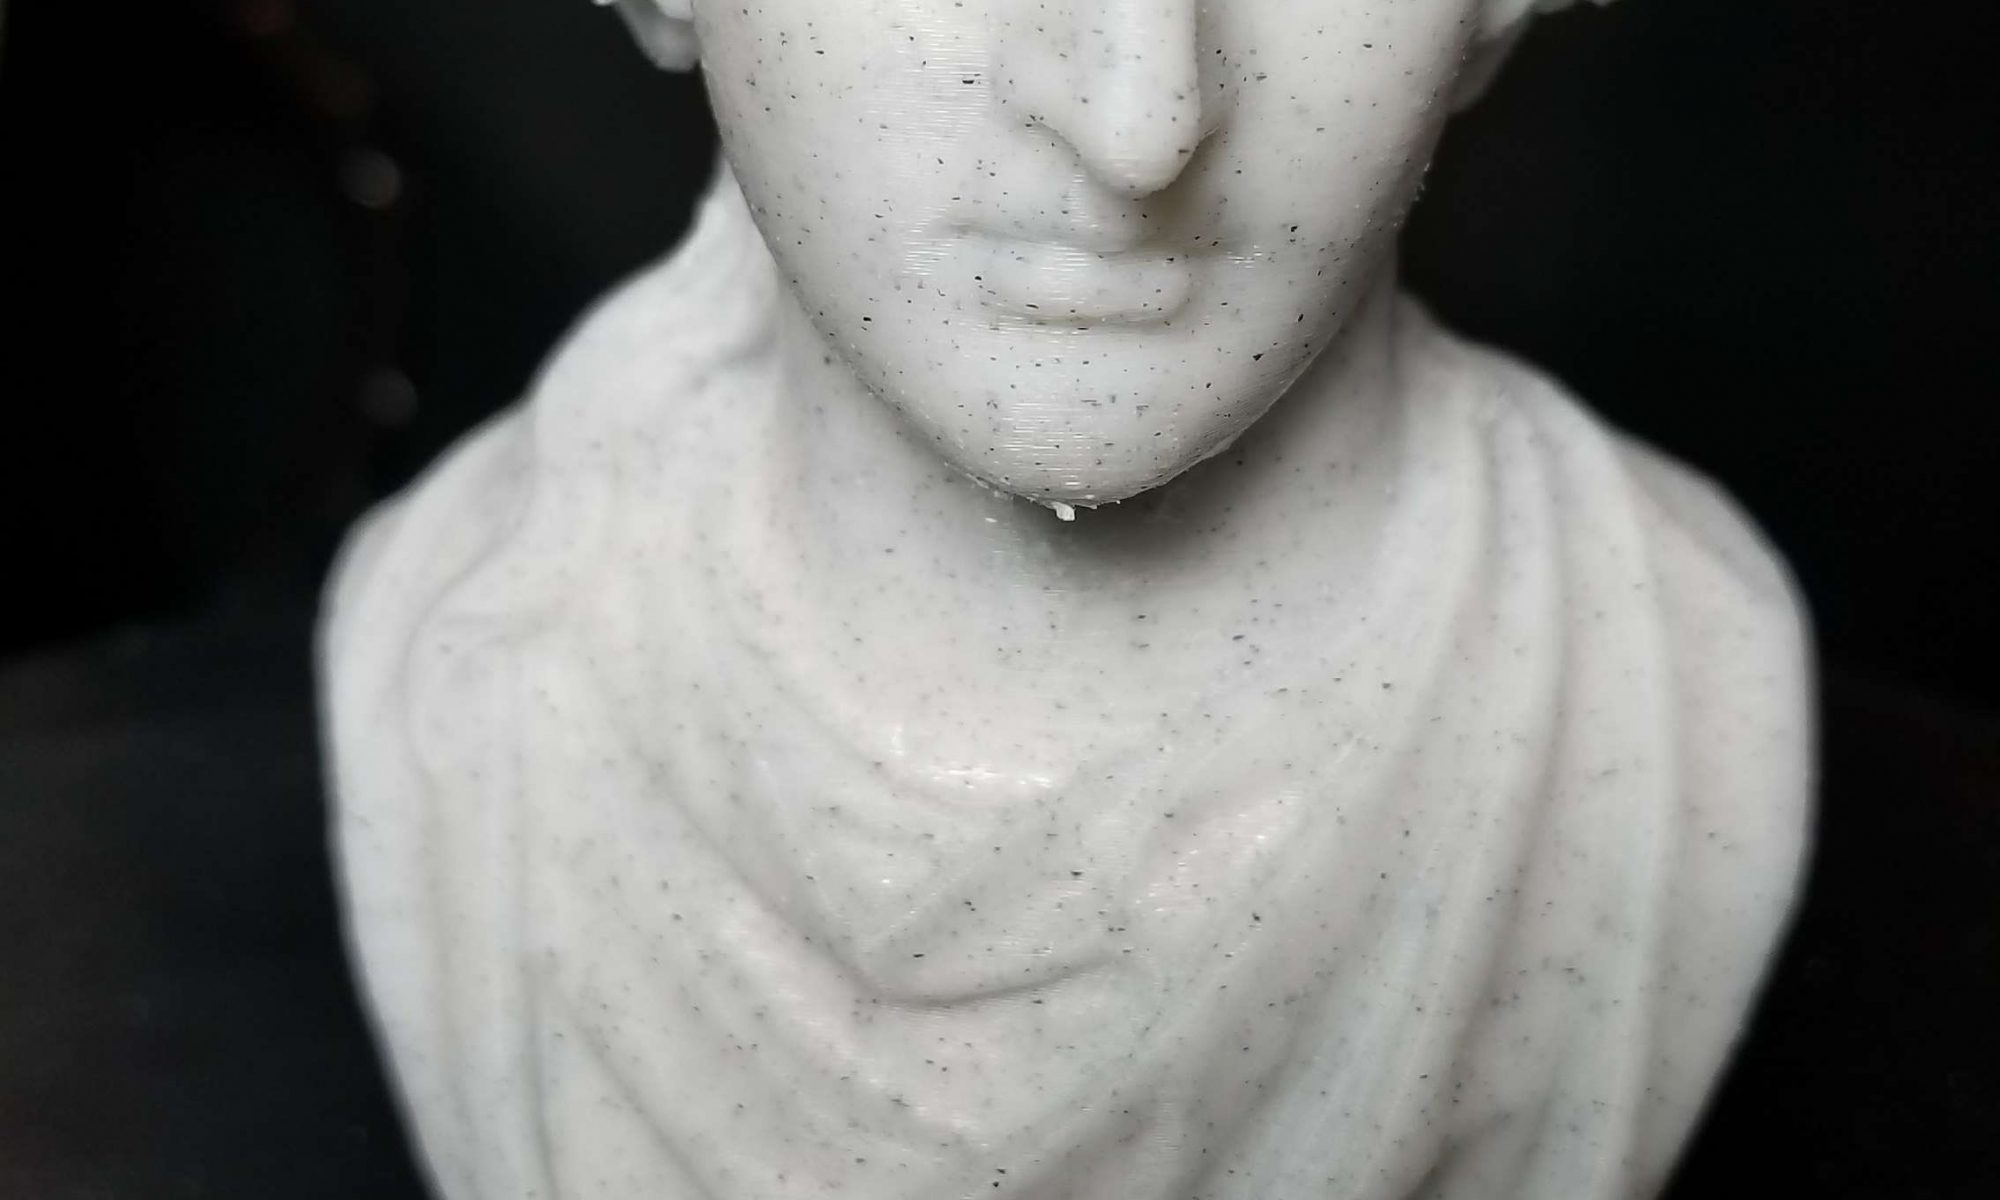
Happy 2018

I haven’t posted in a couple of weeks, so I figure I better get to it. I have a number of things I’ve been working on in the new year.

  • I’ve been watching some Pluralsight videos on Angular. I’ve learned Angular a couple of years back and it has changed a bit, so time to pick it up again.
  • I’ve started learning about docker. I created a simple docker application, ran it on my Mac, my PC, and then ran it on a simple Azure Ubuntu VM.
  • I created a new keepalive “service”. I had one running on my RPi at home, but when I was away for a couple of days… I realized it had stopped working. I don’t have a personal VPN into my house to figure out why, so I decided to create a super simple Azure Function to do the same thing. That way I can monitor and maintain it anywhere.
  • I’ve also been busy 3D printing for my son’s cub scouts. I created a blue mustang pinewood derby car body!
    • In addition, I’m going to be 3D printing their names, pack number, and year for their Arrow of Light plaques.

On top of all of this I’ve been studying various algorithms from my college days as these days hiring employers like to test you’re thought process by giving you academic problems to solve and see the thought process as you go through to solve them.

I’ve been pretty busy and since it is a new year, I want to make some goals for 2018. These are not set in stone, but goals I would like to achieve. These are not in any order.

2018 Goals:

  • Complete at least one online course a month about technology. Be it to learn a new language or just to improve my craftsmanship.
  • Listen to two technology podcasts a week.
  • Listen to one book a week (I use Audible a lot).
  • Play tennis at least once a week.
  • Drink no more than one mocha a week.
  • Stop drinking soda (unless it is with rum on the weekends).
  • Workout three days a week for at least 30 minutes at a time.

I think these are doable goals and just the start, I’d like to add more, but I also want to make sure I make reasonable goals.

Like the title says… Happy 2018!

Noise Maker – Ring in the New Year!

As I mention in my Kitchen Towel Rack post: I printed the Party Noise Maker by Works by Solo on my Prusa i3 MK2 at 240%. I first saw this Party Noise Maker on a youtube video by Joel Telling.

Well I should play the lottery! Check this out!

I knew I was going to be cutting it close because the filament roll was getting low, but wow! I can’t believe I lucked out! I don’t have a filament sensor, so it would have been a failed print. I was in bed and using the Printoid app to view the print and I saw some orange behind the extruder, so I thought… ugh a failed print!?!? So I threw on my pajamas and ran down stairs to my surprise! hahaha I’m seriously going to buy a few lottery tickets today! haha

If you want to see all of the photos and timelapse video click this link: https://photos.app.goo.gl/5rSxSfz2vPbDiil92

Once I get showered and dressed, I’ll go outside and test out the noise maker!


Kitchen Towel Rack

So we used to have two kitchen towel racks, but one broke a while back. I took the old one and measured it out and then sketched it on a piece of paper with the dimensions. Then I opened up Fusion 360, and created a couple sketches and here is what I came up with:

Once I’m done printing the 240% Party Noise Maker by Works by Solo on my Prusa i3 MK2, I’ll print this out and and upload a photo of the final results. I first saw this Party Noise Maker on a youtube video by Joel Telling.

Linear advance

If you have a Prusa i3 MK2 or later, since April this year the latest drivers/firmware were released that allowed for linear advance. What does this mean? It’s an algorithm that allows you print faster with the same and/or better quality that slower prints. Okay, that’s a bit overly simplified, but if you’d like to read more I’d go to this article by Matt Harrison.

Here is an example below. I printed this at 90mm/s and this was before I cleaned up the supports. This is Ziro Marble PLA I purchased from Amazon for $22 for a 1kg spool. Pretty good price and the print turned out great!

New to 3D Printing?

Here are a list of tips I’d give to anyone looking to getting into 3D printing or has just recently purchased a 3D Printer.

Watch a LOT of YouTube / Facebook

There are a LOT of resources for learning how to 3D print and one of the best is YouTube. Here are just a few people I would recommend you follow:

Keeping filament dry

  • Store your filament in dry place. I’m not just saying this… DO IT! I learned the hard way. I had a bunch of different filaments and I was having a hard time figuring out why my prints were turning out poorly. Finally, after drying them with a food dehydrator and putting the in a dry box. I’m getting really good prints.
    • Filament is hygroscopic, it absorbs moisture from the air and will mostly likely over time cause poor performance (here is more information)
    • I’ve created Containers that I can print from they only costed about $25 a piece to make and I can hold around 4-5 rolls of filament in a box. Here is a video from Thomas Sanladerer demonstrating how to create a dry box.  I based my box off of his.
    • If you are just starting out I’d do this right away, then you won’t need to a food dehydrator later. However, if you want too… you can learn more on this page and there is a table with settings for drying your filament.

Enclosure

  • If you are printing with ABS you’ll want an enclosure. ABS is really sensitive to a temperature change. If you’re printing in a relatively cool place, the print will cool too quickly and cause warping and layer separation.
    • Added bonuses of an enclosure is less fumes and quieter printing.

It is getting late, so more to come soon.

Olsson Ruby Nozzle

So a while back I purchased the Olsson Ruby nozzle. I print a few exotic materials like MatterHackers ABS Greenglow, Proto-Pasta’s #Highfive Blue, and I just purchased Ziro’s Marble. Since I was planning on printing more and more exotic filaments (e.g. Carbon Fiber). I decided it was time to upgrade my nozzle. It was pretty easy actually.

Most of the instructions came from the Olsson Ruby website support instructions.

  • First thing I did is print a torque wrench for installing the new nozzle. This is a very cool model and it turned out great.
  • Then I followed the Prusa i3 MK2 steps for replacing the nozzle (here).
    • However, I would suggest doing steps 1-5 first, then heat up the extruder before removing the nozzle.
  • Using the new torque wrench I was able to quickly install the new ruby nozzle.
  • Lastly, I ran a test print and adjusted the live z settings.

So far so good. I’ll keep you updated.