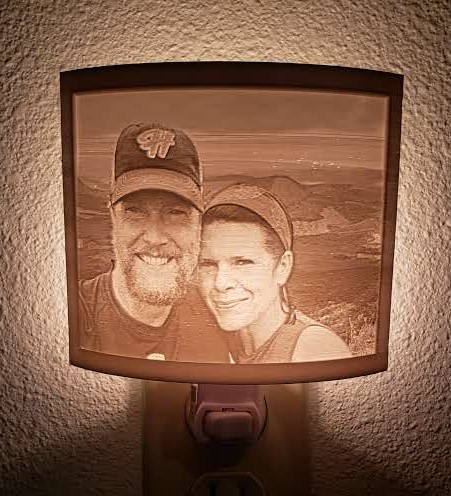
So it has been a while since I’ve posted. I started a new job and only the second week-in I came down with the flu, so I’ve been busy and sick.
I’ve done a lot even with all that going on, but just haven’t had the time to post about it. For Valentine’s I made a custom heart shaped earring holder, I created a Rube Goldberg valentine’s box for my youngest son (his design). I created a new rpi camera mount for my Prusa i3 MK2, I’ve made progress on an enclosure for my Prusa, and lastly create my first lithophane.
I’ve seen numerous posts in the past 6 months or more of people creating lithophanes of family photos, spherical moons, etc… So I thought I’d create one today. I took an old photo and a couple of hours later I had a pretty cool lithophane. However, I knew there was a inverse option in the software I used, so I thought I’d try that next. The results are AMAZING! It is like having a physical photo!
https://photos.app.goo.gl/ITevzQHwQFeobXt13
I recommend using this site for creating your lithophane: http://3dp.rocks/lithophane/ It makes it super easy! I would make sure to click on Settings –> Image Settings and then move the slider to the left for Positive Image. This will make it so the photo will show up when light source is behind the lithophane.
Update: I also like this site for creating lithophanes! https://lithophanemaker.com/


